Before you start

This is a detailed introduction and step-by-step guide of how to install our self-adhesive wallpaper mural. Please read all instructions carefully before installing, including decorators or professionals.

We recommend asking a friend or partner for help - an extra pair of hands makes installation a lot easier!

Carefully check the wallpaper before installation for any faults or errors. Lay all panels out on the floor and arrange in correct order. Please do the examination of rolls before booking the decorator.

Check that all panels match and that you are happy with the design, colours, and quality.

Examination before hanging is the buyer’s responsibility. Once applied to your wall your right of return may be voided.
No claim can be accepted after wallcoverings have been cut and hung for defects that are apparent at the time of hanging.

No liability can be accepted for costs incurred installing or removing item.

Equipment

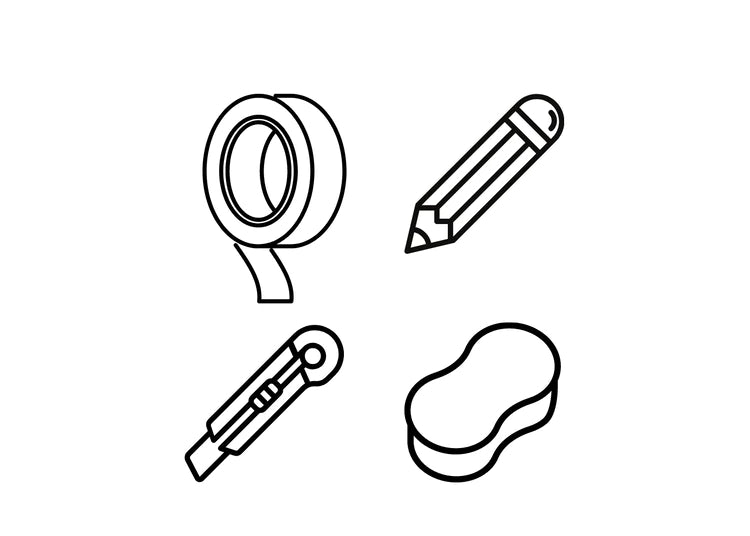
You will need a few things:
Masking tape, a pencil, a sharp box-cutter knife, a dry sponge for smoothing - and most importantly, a friend or partner to help!

  • Prepare your wall

    Ensuring the wall is clean, dry, smooth, dirt and dust free.

    The surface should be free from old backing paper and contaminants such as dirt, dust, grease, mildew, ink stains; any of these can prevent adhesion taking place.

    - Switch off the electricity mains and remove any socket / switch covers.

    - Remove any old wallpaper and loose paint.

    - Sand down any rough areas until smooth.

    - Clean the walls with warm water and mild soap, allow the walls to dry for a minimum of 24 hours.

    - The walls should be a light uniform colour with no highly contrasting areas as dark colours may show through.

    - Highly absorbent surfaces (plaster, cement) should be sealed with a PVA based primer or emulsion paint and allow it to dry out completely (4-6 weeks)

    - Non-porous surfaces (gloss paint, glass) - wipe clean, no further preparation needed.

    Please note: If your paint has a washable coating then prime the wall with a PVA based primer or regular emulsion paint first and allow it to dry before hanging. Please refer to the paint manufacturer’s instructions for guidance.

  • Tips for successful installation

    Plug sockets & light switches
    We recommend to unscrew the base plates from plug sockets and light switches before starting. When applying the strip cut a small "x" shape in the wallpaper directly over the switch/socket. Pull the socket/switch through the "x" shape in the wallpaper. Smooth the wallpaper onto the wall behind the switch/socket base plate.
    Trim away any excess and re-attach the baseplate for a seamless finish.

    Sloping ceilings

    Without removing the backing paper hold up the first strip so the bottom is inline with the floor or skirting board. Fold back lightly to match the slope of the ceiling, making a light crease. Place strip on the floor and trim away the excess with a knife or scissors, leaving at least a 10 cm margin above the crease.

  • Unroll the wallpaper and separate the drops. Identify each panel and arrange in hanging order on the floor.

    Lay out panels to check image and pattern match before installation.


    Please note: If you have ordered multiple wallpapers they may be rolled together.

  • Without removing the backing paper, position the first strip squarely, starting top left.

    Place a piece of masking tape across the entire width of the strip, approximately 30cm from the top to hold the strip to the wall.

    Check that the strip is square against the left edge and floor.

    Allow the top portion of the strip to hang down over the masking tape, and gently peel away the backing paper. Using scissors, trim this backing paper strip away.

  • Smoothing upwards from the fold, using a squeegee or dry sponge, to apply the strip to the wall. Remove the masking tape, and gently peel the backing paper downwards, keeping the panel in close contact with the wall and smoothing as you go.

    We recommend asking a second person to assist.

  • When hanging multiple drops, hang the panels edge-to-edge as (there is no overlap), in a butt join.

    Visually match the design on the wall and gently press the panels together so that the seams are not visible. Smooth out any air bubbles with a squeegee or a soft cloth.

    Continue to remove the remaining backing paper and smoothing the mural carefully as you go until the drop is fully installed.

  • Continue the previous steps for each drop until all panels are installed. Panels should not be overlapped. If you make any mistakes or trap large air-bubbles you can unstick and reposition as necessary.
    Once your wallpaper is installed, use a sharp knife and a straight edge to carefully trim away any excess from the sides and bottom.
    One important step is to firmly smooth the whole mural down using a soft cloth, to removes any remaining air bubbles and help the mural bond to the wall.

    Drying

    For the wallpapers to dry evenly and prevent the air blowing through, allow for drying at room temperature ensuring there is a good ventilation. If there is a heat source such as a radiator on the same wall as the mural, turn it off for the first 24 hours of drying. Otherwise the drying would be uneven and the strips could stick out on the edges.

Congratulations! You did it yourself! Step back and enjoy!